This is my first post as a design team member for Scrapbook Queens... I'm so excited!!! I think I'm the newbie out of the four DT members, so hopefully I don't embarass myself!
Anyway, since we moved two years ago, we've been looking for a new clock for my daughter's room. Now, she's a tween, so the princess clocks are too young, and the other styles are, well, just too old.
The only one I thought would be suitable was this one:

but it's HUGE and doesn't really fit her decor. Time went on (ha ha ha.... I kill me!) and I found a clock for $3 at Walmart. A hideous clock. But it was THREE DOLLARS, and I'm crafty. Here's the before picture:

And after:

This is great for her room. I used http://www.wordle.net/ to create a word cloud with makeup related words and her name, printed it off, and cut it out for the face of the clock. Scrapbooking supplies for the numbers, and voila!
Now, her bff's birthday party is this weekend, so I had a go at another one, this time with lots of photos so I can show you how to make your own.
First step is to buy a cheap clock. Really cheap. If you can't find it at Walmart, try the dollar store. Next, you get to take it apart. :) Turn the clock over and you'll probably see 4 or 5 screws that you need to remove.

Take the glass out

and then you can paint the frame of the clock, if you want to change the colour. I used the Krylon paint so that it would adhere well to the plastic.

Now, you need to create a pretty face for the clock. Remove the clock hands. Be careful not too bend them. They're very bendy. My guess is that they're made very thin so as to be light and not have gravity affect the motion of the clock. But that's totally a guess. Either that or the thin metal keeps costs down.
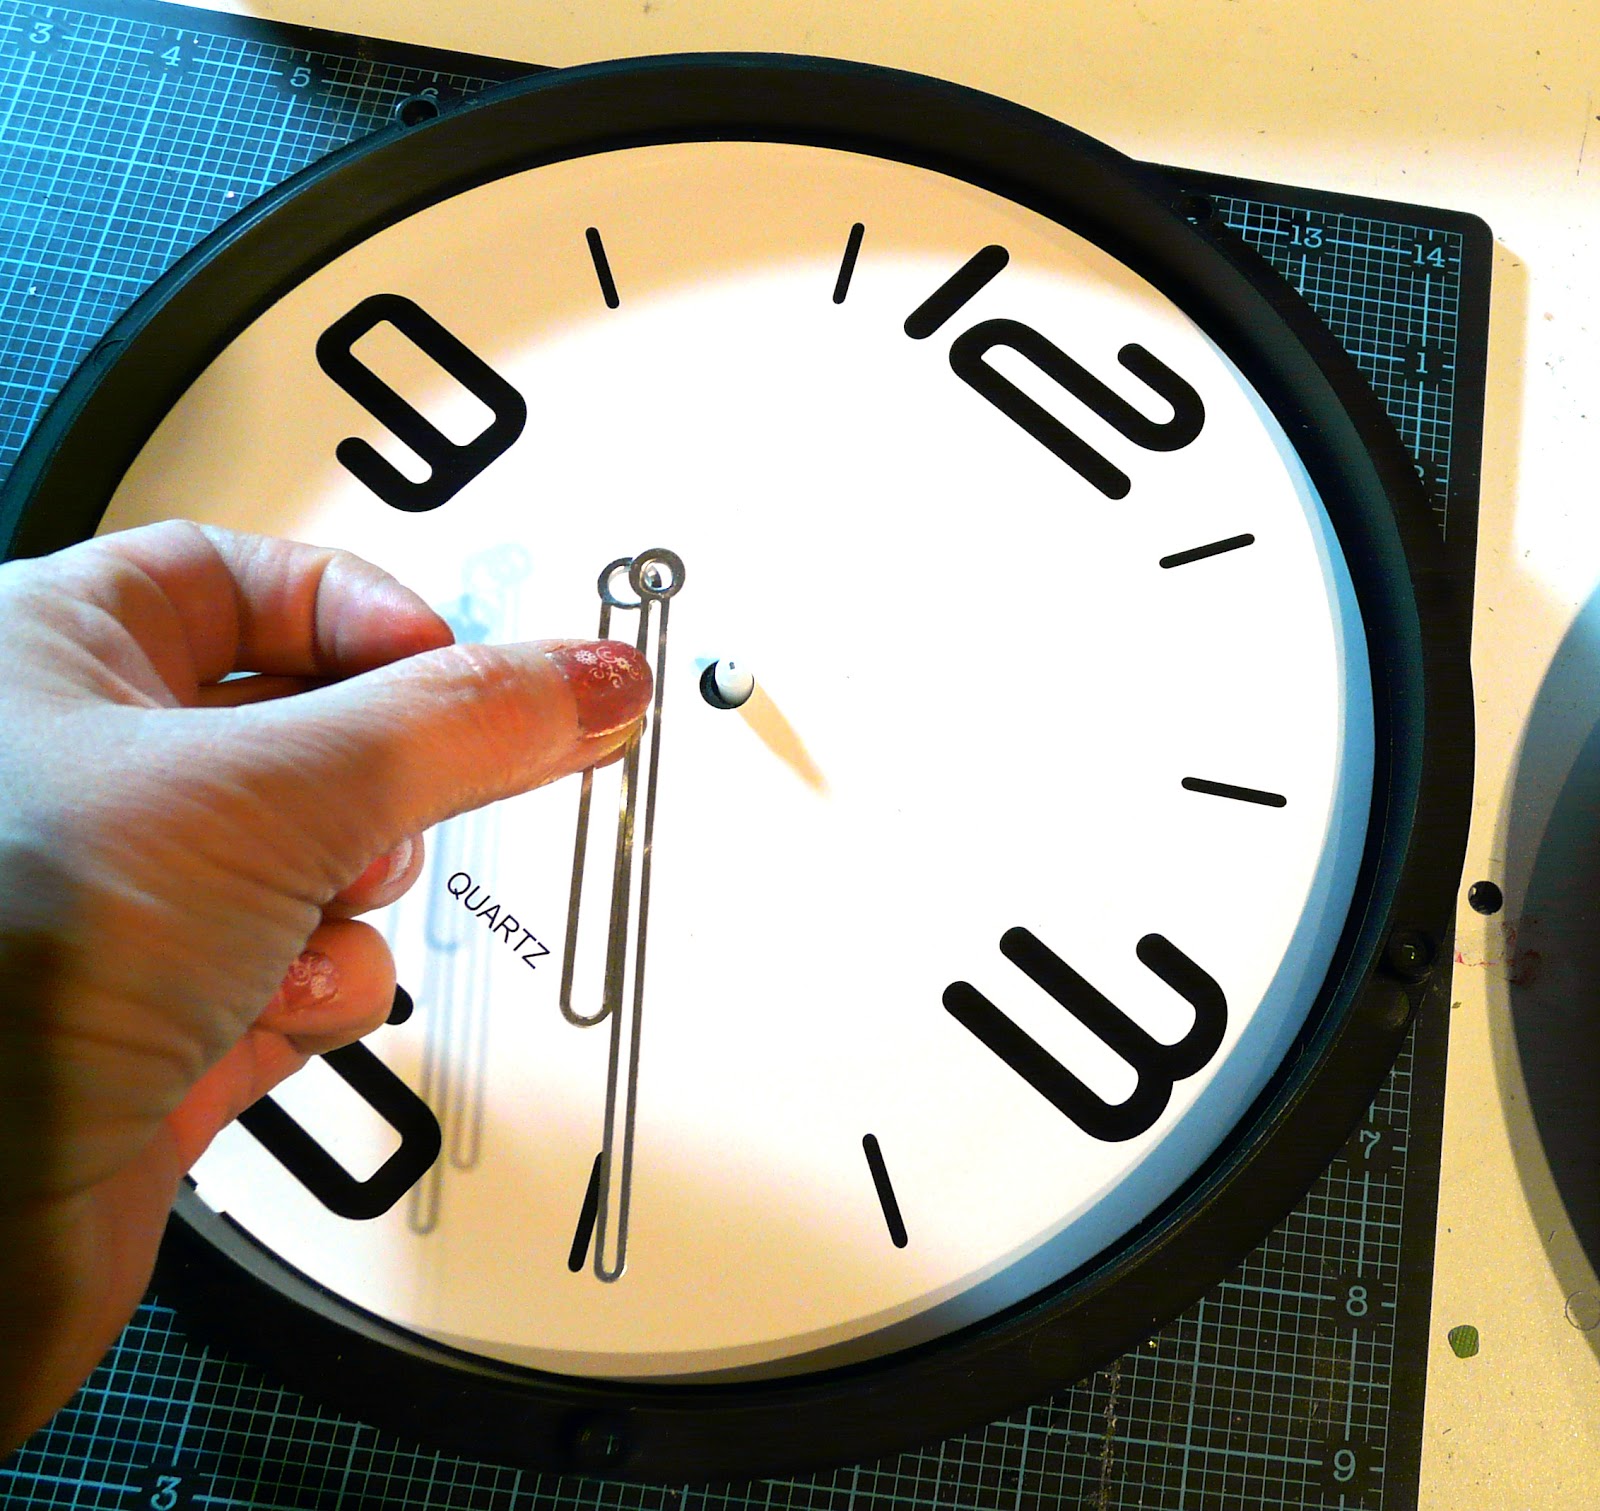
Measure the existing clock face so that you know the diameter.

Then cut a circle and decorate to your heart's content. Be cognizant of the fact that the clock hands must pass over the surface of the clock, so you don't want it too lumpy.
I used my Cameo to cut the circle, as well as some swirls and a figure skater (the birthday girl loves this sport.... also, her room is teal, and her favourite colour is yellow). I punched some numbers and stickled them (hereby starting the movement to make "stickled" a real word in 2012).

I used alcohol inks to change the colour of the clock hands:

Then, carefully push the hands back on, being careful not to bend them. Have a good look from the side to make sure they're level, unbent, and will be able to turn unimpeded.

Here's something that I figured out after an "aha" moment... I wanted to put the hands in the right place for the time. I think it was like 20 past the hour, so I was thinking that the big hand needed to be about one third between the 2 and the 3. Duh. Ok, line all three hands up with the twelve, and then set the time. (smacking hand to forehead)

So, now just put the glass face back on, add a battery and you're done! If you try this, I'd love to see it. If you're on scrapbookqueens.ca, there's a forum there you can post the photo in. Here's the finished product, back in the original box and ready to wrap!

Fabulous and a beautiful gift idea! your daughter's friend will love it!
ReplyDeleteHave fun being on your first DT!
WOW! Incredible Rona!
ReplyDeleteI want to start doing these!!!
OK, that's just amazing. I'm going to do one for my new stamping studio!
ReplyDelete